In the vast world of game development with Unreal Engine, “levels” play a crucial role, acting as the foundational blocks where all the action takes place. Whether you’re crafting a sprawling open-world game or a series of intricate puzzle rooms, mastering the concept and management of levels is key to building efficient and engaging environments. Today, let’s dive deep into what levels are in Unreal Engine, how they work, and how to effectively manage them, including insights on handling multiple levels, default levels, and sublevels.
What Are Levels in Unreal Engine?
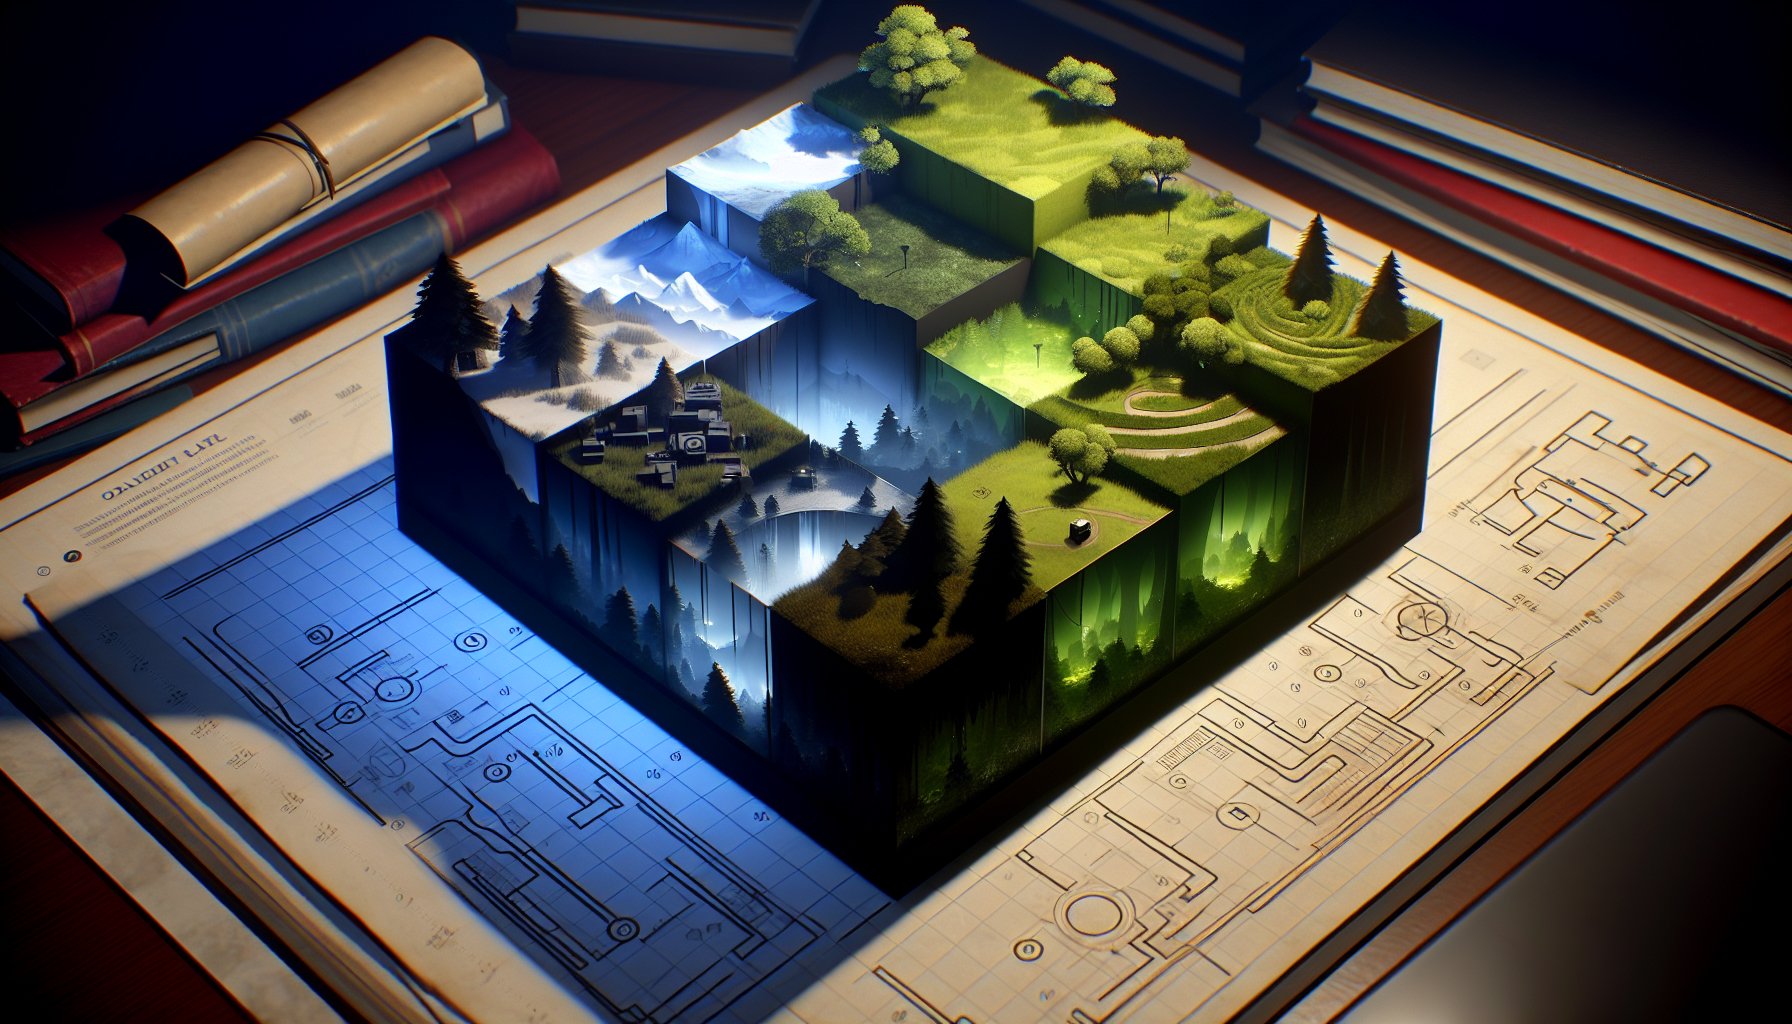
Levels in Unreal Engine are containers for geometry, lights, volumes, and other gameplay elements, essentially making up the different “scenes” or “worlds” within a game. Each level holds all the assets and settings that define a particular section or stage of your game, such as a forest, a cityscape, or a dark dungeon.
Core Concepts
- Levels as Containers: Think of each level like a box that holds all the necessary components (actors, lights, meshes) that make up an environment in your game.
- Streaming Levels: Unreal Engine supports level streaming, which allows for the loading and unloading of levels on the fly without significant performance hits. This is crucial for creating large, seamless worlds.
Managing Multiple Levels
Handling multiple levels efficiently is vital for keeping large projects organized and ensuring that performance remains optimal.
- Level Streaming: Unreal Engine’s level streaming feature lets you load additional levels as needed without overwhelming the player’s system. This is done by dividing the game world into multiple smaller segments (levels) that can be loaded or unloaded when necessary.
- Persistent Level: This is the main level that acts as a container for other levels, often called sublevels. The persistent level is always loaded, while the sublevels can be streamed in and out.
- Sublevels: These are the additional levels that are loaded into the persistent level. You can categorize sublevels for different purposes like gameplay, environment, lighting, and audio to improve manageability and performance.
Setting a Default Level
Every Unreal Engine project has a default level that loads when the game starts. Understanding how to set and manage the default level is important for defining the player’s initial experience.
- Changing the Default Level: You can set which level is the default through the “Project Settings” under the “Maps & Modes” section. Here, you can specify which level should open when the game starts, ensuring that players begin their journey in the right environment.
Tips for Working with Sublevels
Working with sublevels can greatly enhance your project’s organization and performance. Here are some tips for using sublevels effectively:
- Organize by Function: Group similar functionalities together. For example, keep all environmental elements in one sublevel and all gameplay mechanics in another.
- Use Level Blueprints: Each sublevel can have its own blueprint, making it easier to manage scripts and interactions specific to that section of the game.
- Visibility Toggling: In the editor, you can toggle the visibility of each sublevel. This is particularly useful when working on a specific area of your game without interference from other elements.
Conclusion: Mastering the Art of Levels
Levels are more than just backgrounds or settings for your game’s narrative; they are dynamic platforms that can significantly affect how your game performs and engages players. By effectively managing levels, setting appropriate defaults, and utilizing sublevels, you can not only streamline your development process but also enhance the overall gaming experience. Remember, in Unreal Engine, levels are the stages upon which your game’s drama unfolds, so setting them up thoughtfully is key to a successful production.
