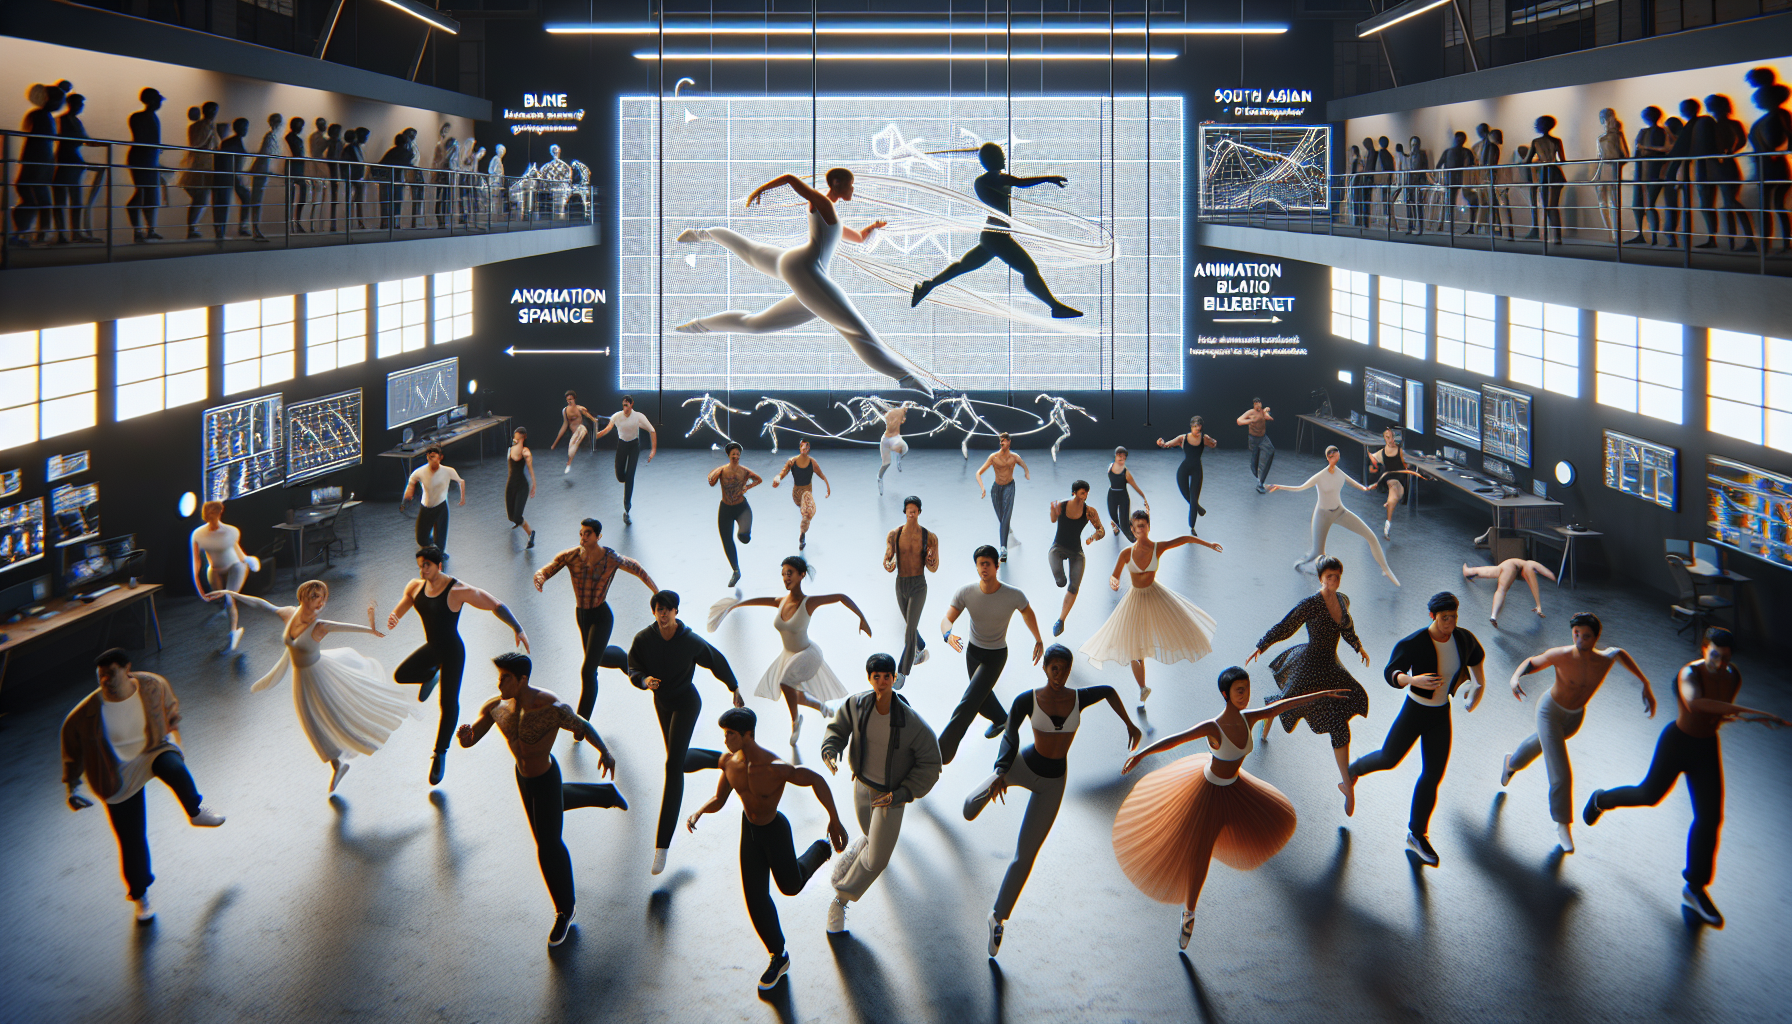
Welcome to the digital dance studio of Unreal Engine, where the stiff movements of yesterday’s animations meet today’s smooth, responsive technology. Here, we don’t just slap animations together and hope for the best. Oh no, we blend them—like a DJ mixes beats—to create seamless transitions that keep our characters moving with the grace of a ballet dancer rather than the clunkiness of a rusty robot.
Why Bother Blending Animations?
Let’s face it: watching a character snap from a standstill to a full-on sprint with no in-between is about as natural as a cat barking. Animation blending allows your characters to move believably, with transitions so smooth they’d make a 90s boy band jealous.
Starting Simple: Basic Blending 101
Blending animations is all about making character movements less robotic and more fluid. You want your thief to sneak, sprint, and saunter with realistic shifts in pace. Here’s how to begin:
- Blend Spaces:
- Think of a Blend Space as a playground where animations play nice together. Here, you set up rules like how fast a character is moving and in which direction they’re heading, and Unreal blends the animations accordingly.
- Blend Nodes in Blueprints:
- In your character’s Animation Blueprint, use blend nodes to stitch animations together. It’s like telling two dance partners how close to hold each other during a performance.
Going the Extra Mile with Locomotion-Based Blending
For those who want their characters to adapt their footwork perfectly to every game scenario—enter locomotion-based blending:
- Crafting a Locomotion Blend Space:
- Set up a Blend Space dedicated to movement. This is where you dictate how animations change based on the character’s speed and direction. It’s the secret to making a character tiptoe sneakily or charge boldly, all based on how you push the joystick.
- Hook It Up:
- Drag this Blend Space into the Animation Blueprint and connect it to inputs that track how fast and where your character is moving. Now, changes in movement directly influence the animation output, ensuring your character always moves in a life-like manner.
Tips for a Stellar Performance
- Define Your Directions:
- Organize your Blend Space with a clear setup: horizontal axis for turning directions and vertical for speed. This way, each tiny adjustment in movement has a corresponding animation reaction.
- Strategically Place Animations:
- Position key animations within the Blend Space grid—like placing chess pieces. Where you place them determines how your character moves from a slow walk to a quick sprint or a cautious backpedal.
- Continuous Testing:
- Just like you wouldn’t wear new shoes to a marathon without breaking them in, don’t let your animations hit the game without thorough testing. Make sure transitions are smoother than a diplomat at a peace treaty signing.
Why Locomotion Blending Is Your New Best Friend
With locomotion-based blending, your character’s movements are not just predictable, they’re anticipatory—always a step ahead of player commands. It transforms clunky, disjointed movements into a fluid narrative of motion, making gameplay a visually cohesive experience.
Conclusion: Let the Dance Begin
By mastering the subtle art of animation blending in Unreal Engine, you’re doing more than just making characters move; you’re giving them the ability to express a whole range of dynamics through movement. It’s about letting them shuffle, stride, and sprint their way into the hearts of players everywhere.
So crank up Unreal Engine, and let’s get blending—your characters are ready to dance their way through every adventure you throw at them.
