In the realm of Unreal Engine, where polygons used to count their calories and developers tiptoed around performance budgets, Nanite has stormed in like a mythological beast liberating the land. It’s a powerful tool, indeed, but wielding it requires a bit more than a cavalier attitude and a quick drag-and-drop. So, let’s roll up our sleeves and get into the finer points of using Nanite effectively, because even the mightiest tools come with their own set of quirks and conundrums.
Tip #1: Know When to Nanite
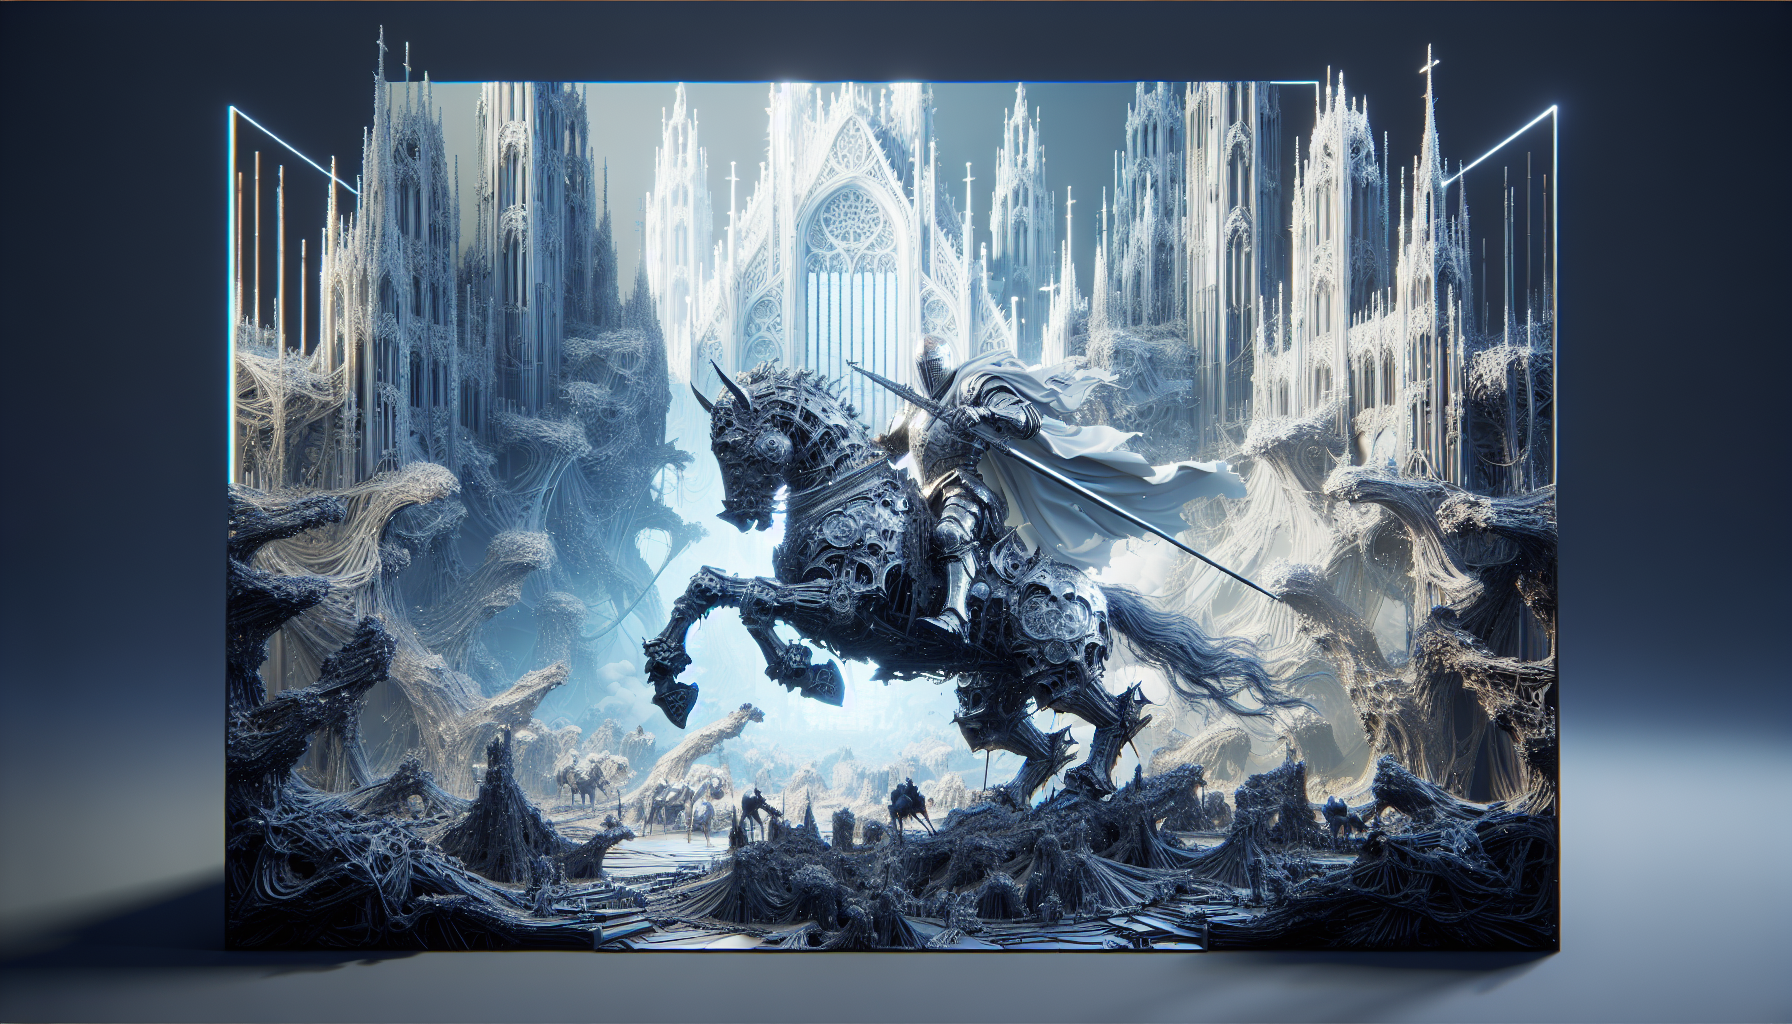
Selective Application: Just because you can use Nanite on every rock, tree, and architectural frieze in your virtual world doesn’t mean you should. Remember, Nanite thrives on static geometry that doesn’t need to move or warp. It’s perfect for your elaborate Gothic cathedrals or sprawling alien landscapes, but less ideal for your flapping dragon wings or characters.
Trick #1: Optimize Before You Nanite
Geometry Clean-Up: Before you let Nanite at your models, give them a good scrub. Ensure that your meshes are free of unnecessary vertices and overly complex topologies. A clean, well-optimized mesh is like a well-tuned piano; it just works better. Use quad-based topology where possible, as it tends to play nicer with Nanite’s algorithms.
Tip #2: Lighting and Nanite, A Delicate Dance
Static Only, Please: Dynamic lighting and Nanite can sometimes have a relationship that’s as complicated as quantum physics. Since Nanite is optimized for static meshes, your lighting should ideally be static too. Static and Stationary lights are your go-tos here. If dynamic lighting is a must, prepare for some extra testing to ensure everything meshes well.
Trick #2: The LOD Handoff
Seamless Transition: While Nanite handles LODs (Levels of Detail) automatically, you might still need traditional LODs for elements not supported by Nanite. The trick is to ensure a smooth transition between Nanite-rendered objects and traditionally rendered ones. Adjust the LOD settings to make this handoff as seamless as a magician’s sleight of hand.
Tip #3: The Art of Importing for Nanite
Direct Importing: When bringing assets into Unreal Engine with the intent to use Nanite, import them directly as .FBX or .OBJ files instead of through other formats that might add extra steps or conversions. Direct import ensures that the geometry is as clean and unaltered as possible, which is just what Nanite likes.
Trick #3: Use Debugging Tools to Peek Under the Hood
Visualization Modes: Unreal Engine offers various visualization modes to see how Nanite processes and streams geometry. Use these tools to get a behind-the-scenes look at how Nanite is handling your scenes, which can help you identify and fix potential issues before they turn into bigger problems.
Caveat: Watch for Performance Potholes
Test Extensively: Just because Nanite can handle insane levels of detail doesn’t mean it’s immune to performance issues. Extensive testing across various hardware configurations is crucial. Monitor frame rates, loading times, and memory usage. Nanite is powerful, but it still obeys the laws of computer hardware.
Conclusion: Nanite, A Tool of Epic Proportions
Nanite in Unreal Engine is akin to having superpowers in the realm of 3D rendering, but even superheroes have their weaknesses. By understanding how to leverage its strengths and mitigate its limitations, you can use Nanite not just effectively but spectacularly.
So, experiment boldly, optimize smartly, and let Nanite transform your digital landscapes into realms of unimaginable detail. Just remember, with great power comes great responsibility—and maybe a need for a beefier GPU.
