Hello, digital storytellers and visual wizards! Ready to dive into the magical world of Unreal Engine 5 and harness the power of its Sequencer? Well, strap in because you’re about to learn how to turn your creative visions into cinematic gold!
What is the Sequencer?
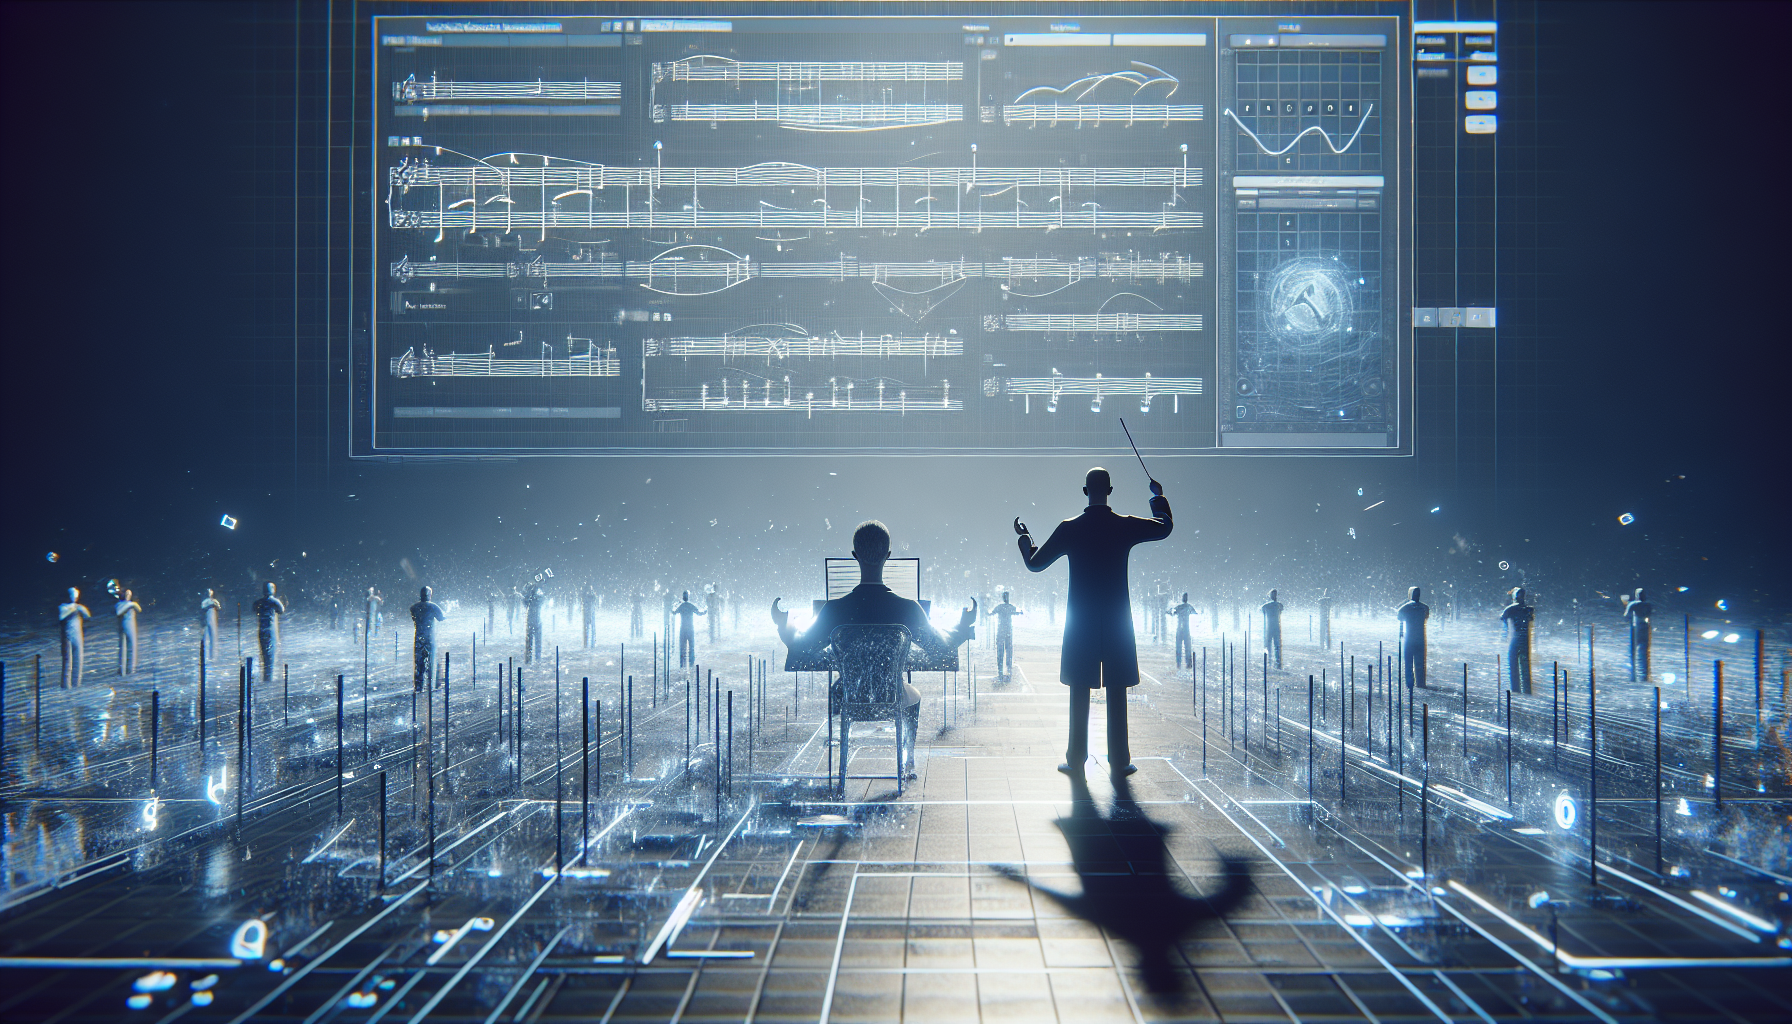
Imagine a conductor wielding a baton, orchestrating a symphony of visuals and sounds. That’s the Sequencer in Unreal Engine 5—a powerful, non-linear editor that lets you choreograph complex animations, control lighting, sounds, effects, and camera movements all within a single, intuitive interface.
Getting Started with the Sequencer
- Launch and Locate: Fire up Unreal Engine and find the Sequencer under the ‘Window’ menu in the main toolbar. Click on ‘Cinematics’ and select ‘Add Level Sequence’ to start a new sequence.
- Add Your Assets: Drag and drop assets from your content browser. Whether it’s characters, props, or environmental pieces, just throw them into your scene.
- Animation Tracks: Right-click within the Sequencer window to add tracks for each element you want to animate. This can include everything from basic transforms (moving, scaling, rotating) to more complex properties like camera focus or material adjustments.
Key Features to Explore
- Keyframing: Click on the timeline where you want a property change, adjust the property in the viewport or details panel, and hit the keyframe button (the little diamond). Unreal will interpolate the motion between keyframes, creating smooth transitions.
- Camera Cuts: Seamlessly switch between different camera angles to enhance storytelling. Just add a camera cut track, and then drag and drop different cameras onto the timeline.
- Effects and Overlays: Utilize Unreal’s vast library of visual effects to add polish to your scenes. From explosive action to gentle snowfall, it’s all just a few clicks away!
Advanced Tips
- Nested Sequences: For complex projects, you can nest sequences within each other. This allows for better organization and easier adjustments without disrupting the broader timeline.
- Customizable Workspace: Tailor the Sequencer interface to your workflow. You can rearrange panels and save layouts to streamline your animation process.
Troubleshooting Common Hurdles
- Frame Rate Follies: Always double-check your sequence’s frame rate settings to ensure smooth playback and rendering. A mismatch can lead to unexpected results.
- Asset Management: Keep a keen eye on how assets are referenced within the Sequencer. Make sure they are not accidentally moved or renamed within the content browser, which could break your sequences.
Let’s Wrap It Up!
Now that you’re equipped with the basics of the Unreal Engine Sequencer, the only limit is your imagination. Experiment, explore, and don’t be afraid to make mistakes—that’s part of the fun! And remember, every great creator started just where you are now: at the beginning of something exciting.
Engage with Us: Got a cool tip for using the Sequencer? Or maybe a question about troubleshooting? Drop your thoughts in the comments below and let’s make magic together!
Happy creating, everyone!
