If you’ve ever generated an image in Stable Diffusion and noticed a face that’s a little… off, or hands that look like they belong in a sci-fi horror movie, you’re not alone. But there’s good news! With aDetailer, you can fix those issues automatically and enhance your images with just a few clicks.
In this tutorial, we’ll introduce you to aDetailer, explain how it works, and guide you through setting it up for the first time. Let’s dive in!
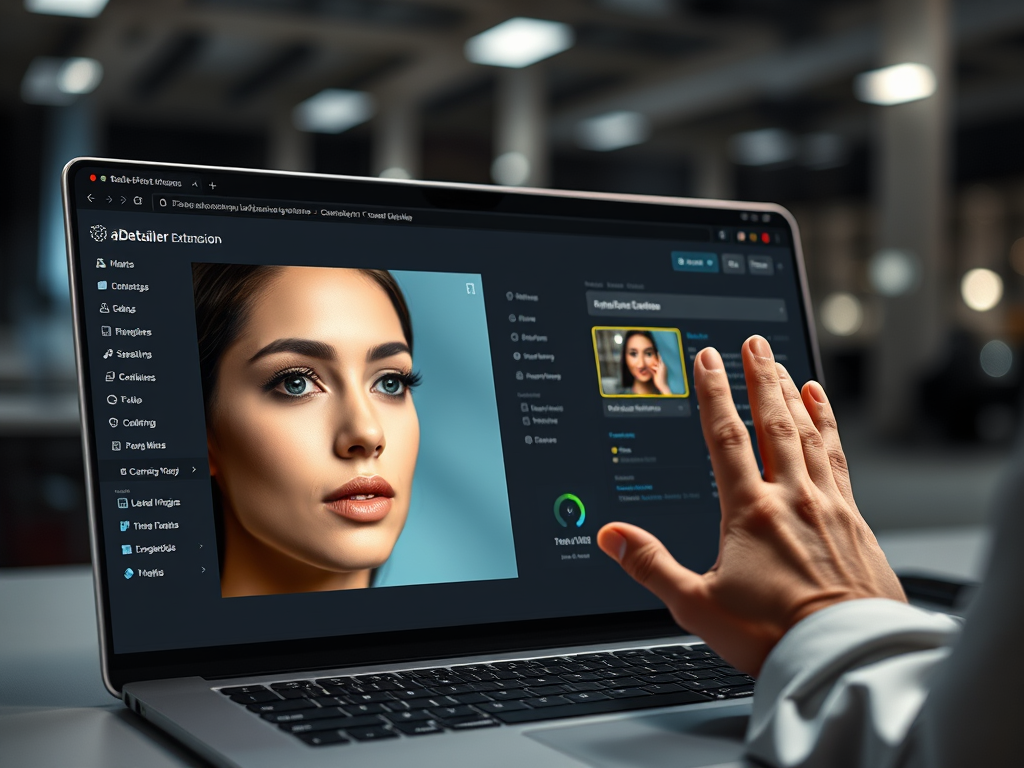
What is aDetailer?
aDetailer is a game-changing extension for the Stable Diffusion WebUI. It automates the process of:
- Detecting regions of interest (like faces, hands, or bodies) using powerful YOLO models.
- Masking those regions to isolate them from the rest of the image.
- Inpainting the areas to refine details and correct distortions.
The result? Enhanced images that look polished and professional—without the need for manual editing.
Why Use aDetailer?
Here’s why aDetailer has become an essential tool for artists and creators:
- Automation: It detects and fixes distortions automatically, saving you time.
- Precision: Focuses on specific areas (e.g., faces or hands) for targeted improvement.
- Ease of Use: Works seamlessly within the Stable Diffusion WebUI.
- Customization: Allows for advanced tuning with detection thresholds, prompts, and model selection.
Step 1: Installing aDetailer
Let’s start by getting aDetailer up and running.
- Open Stable Diffusion WebUI: Make sure you’ve installed the AUTOMATIC1111 WebUI for Stable Diffusion.
- Go to the Extensions Tab:
- Click on the Extensions tab at the top of the WebUI.
- Install from URL:
- Navigate to the Install from URL section.
- Enter the following URL:
https://github.com/Bing-su/adetailer.git - Click Install.
- Restart the WebUI:
- After installation, go to the Installed tab in Extensions.
- Click Apply and Restart UI to activate aDetailer.
Step 2: Enabling aDetailer
Once installed, you’ll need to enable aDetailer to start using it.
- Locate the aDetailer Section:
- In the WebUI, you’ll find an aDetailer tab under the txt2img or img2img sections.
- Enable aDetailer:
- Click the checkbox to Enable ADetailer.
- This activates the extension and prepares it to process your images.
Step 3: Choosing a Detection Model
aDetailer uses detection models to identify specific regions for enhancement. Let’s choose one:
- Open the Model Dropdown:
- In the aDetailer settings, select a model from the dropdown menu. For beginners, start with:
face_yolov8n.ptfor face detection.hand_yolov8n.ptfor hands.person_yolov8n-seg.ptfor full-body detection.
- In the aDetailer settings, select a model from the dropdown menu. For beginners, start with:
- Adjust Default Prompts:
- If you want to add specific details (e.g., sharper eyes or smoother skin), enter prompts in the Positive Prompt field.
- Leave it blank if you’re unsure—your base prompt will be used.
Step 4: Generating Your First Image with aDetailer
Let’s create an enhanced image using aDetailer.
- Go to txt2img:
- Input your desired image prompts as usual. For example:
- Positive Prompt: A high-quality portrait of a woman, detailed face, realistic lighting.
- Negative Prompt: Low-quality, blurry, distorted face.
- Input your desired image prompts as usual. For example:
- Enable aDetailer:
- Make sure the “Enable ADetailer” checkbox is ticked.
- Ensure you’ve selected a detection model (e.g.,
face_yolov8n.pt).
- Click Generate:
- Watch as aDetailer detects the face, applies masking, and enhances it automatically.
Step 5: Viewing and Comparing Results
- Compare the before-and-after results to see the difference aDetailer makes.
- Adjust detection settings or prompts to refine your output further.
Next Steps
Now that you’ve got aDetailer up and running, here’s what you can explore next:
- Experiment with other models (e.g., hands or full-body detection).
- Fine-tune mask and inpainting settings for more precise results.
- Dive into advanced features like multi-model usage or custom prompts.
With aDetailer, your Stable Diffusion projects will never look the same—and that’s a good thing. Stay tuned for the next tutorial, where we’ll explore how to fix hands like a pro. Happy enhancing! 🚀
