Ah, the quest for photorealistic lighting in your game or visualization—it’s like trying to capture sunlight in a bottle. Enter IES light profiles, the secret recipe to sprinkling a little reality into your Unreal Engine projects, one photon at a time. If you’ve ever wondered how to add that touch of authenticity to your lighting, IES profiles are your new best friend—or at least a highly knowledgeable acquaintance.
What Exactly Are IES Light Profiles?
IES profiles, or Illuminating Engineering Society profiles, sound like something you might need a pocket protector and a pair of thick glasses to understand. In reality, they’re quite straightforward. These files are digital representations of real-world light fixtures’ lighting patterns. They include all the deliciously complex details of how light is distributed by different sources, from your run-of-the-mill desk lamp to high-end architectural lights.
Why Bother with Realistic Lighting?
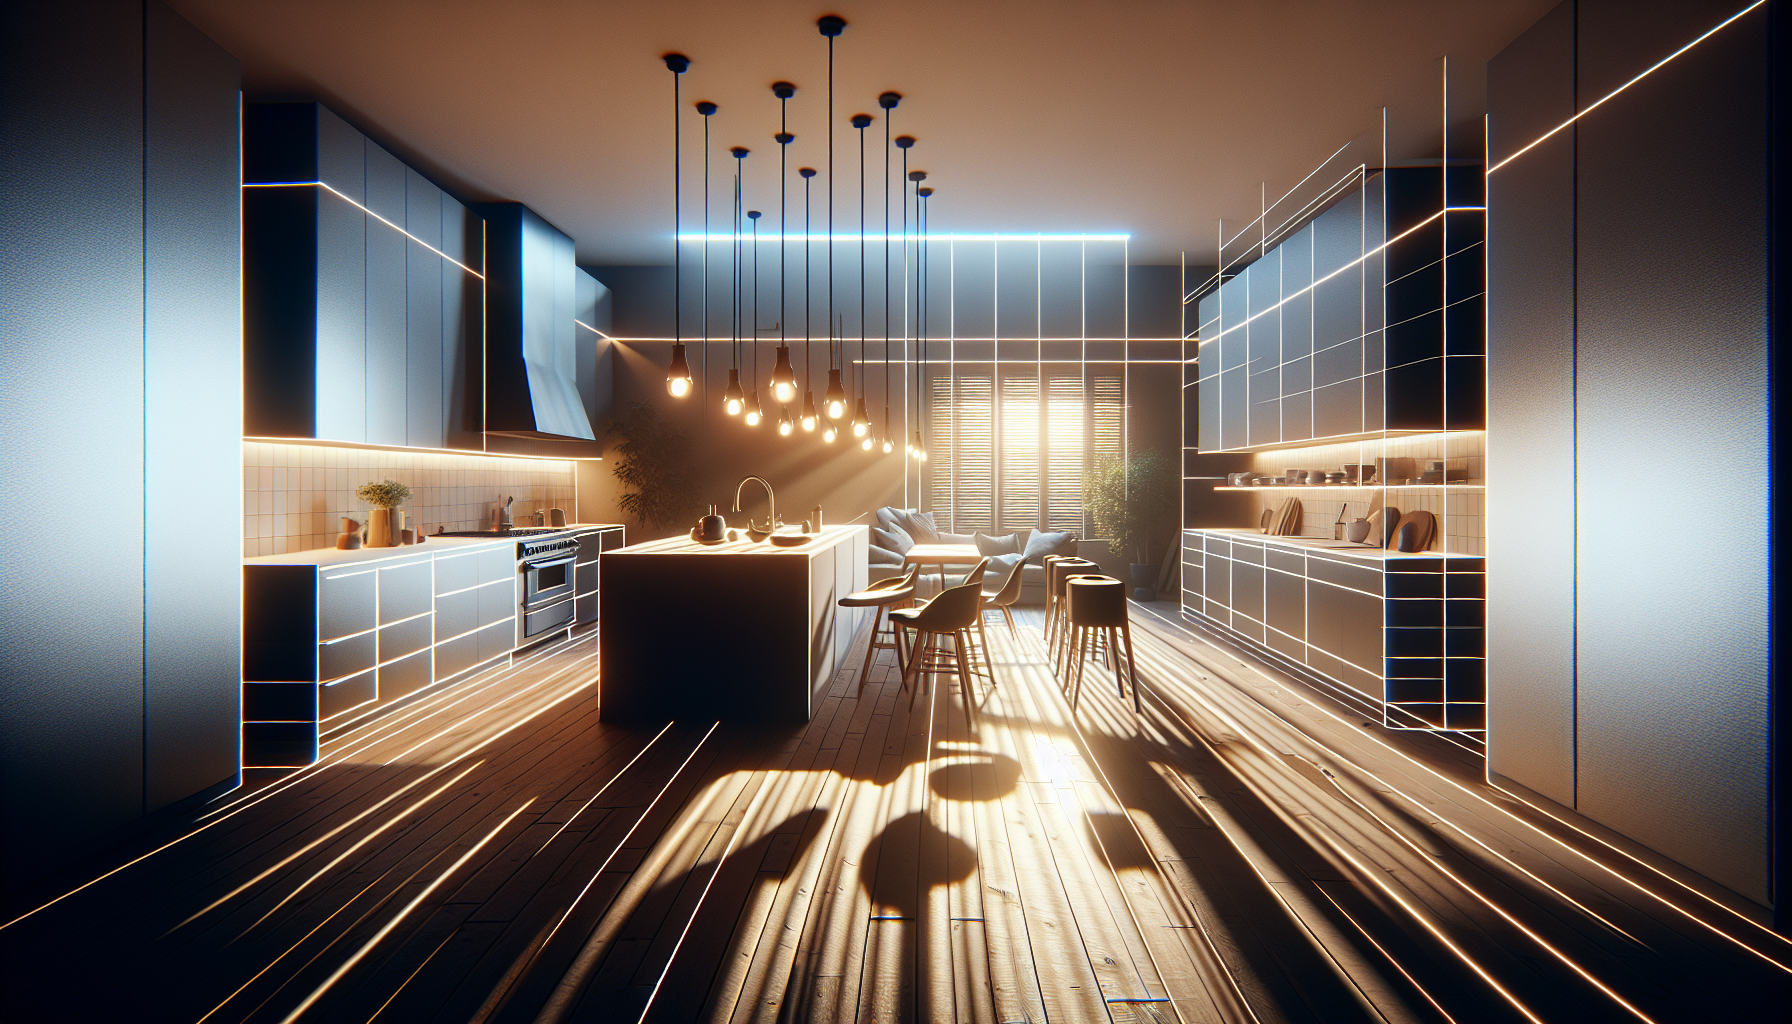
Let’s set the scene: you’re building a sleek, modern kitchen in Unreal. You could use generic lighting and call it a day, but it just doesn’t have that je ne sais quoi. Slap on an IES light profile to your virtual fixtures, and suddenly, it’s as if you’ve installed million-dollar lighting where light spills, fades, and plays over surfaces just as it would in the real world. It’s about adding depth, realism, and ensuring the shadows fall just right, giving your environment that believable look where you can almost smell the fresh paint.
How to Use IES Light Profiles in Unreal Engine
Step 1: Gather Your Gear First, you’ll need to get your hands on some IES files. These can be downloaded from many lighting manufacturers’ websites, often freely available because, let’s face it, they want you to use their fixtures even if it’s only virtually.
Step 2: Import to Unreal Once you’ve picked a suitable IES profile, importing it into Unreal Engine is a breeze:
- In your project, go to the Content Browser.
- Right-click and select ‘Import to /Game…’ then choose your IES file. Unreal will treat it like a new asset.
Step 3: Attach the Profile to a Light
- Drag a light into your scene—Point, Spot, or Rectangular Lights are your go-to options here.
- In the details panel, find the ‘Light Component’ section, and look for ‘IES Texture.’ Click the dropdown and select your newly imported IES profile.
Step 4: Tweak to Perfection Now, adjust the intensity and color temperature until it feels just right. Remember, IES profiles dictate the shape and fall-off of your light, but you can still play director with its brightness and hue.
Things to Watch Out For
While IES light profiles can elevate your lighting game, they do come with a few caveats:
- Performance Hit: Each IES light profile is a little extra work for your GPU. If your scene starts to resemble a slideshow, you might want to dial it back.
- Overuse: Just because you can use IES profiles everywhere doesn’t mean you should. Use them where it counts, like key visual elements in your scene, to avoid overwhelming your project.
Lighting Up Your World
IES light profiles are like the spices in your culinary arsenal: used correctly, they can elevate your dish (or scene) from good to mouthwateringly great. They bring an element of realism that’s hard to achieve with standard lighting tools. Whether you’re lighting an intimate scene or a sprawling cityscape, these profiles add a layer of depth and realism that can make your virtual world feel just a little more tangible.
So go forth, wield your IES light profiles with the care of a master chef or a seasoned wizard, and watch as your scenes come to life with realistic lighting that dances, plays, and truly illuminates. Just remember, with great power comes great responsibility—and perhaps a need for a more robust graphics card!
