Welcome to the world of Animation Blueprints in Unreal Engine 5, where you get to play the puppet master, pulling the strings of your digital creations with all the grace of a caffeinated conductor. Forget the tedious traditional animation processes; it’s time to dive into the future, where your characters move with a life of their own, reacting to the world around them as if they’ve just had a shot of espresso.
What Exactly Are Animation Blueprints?
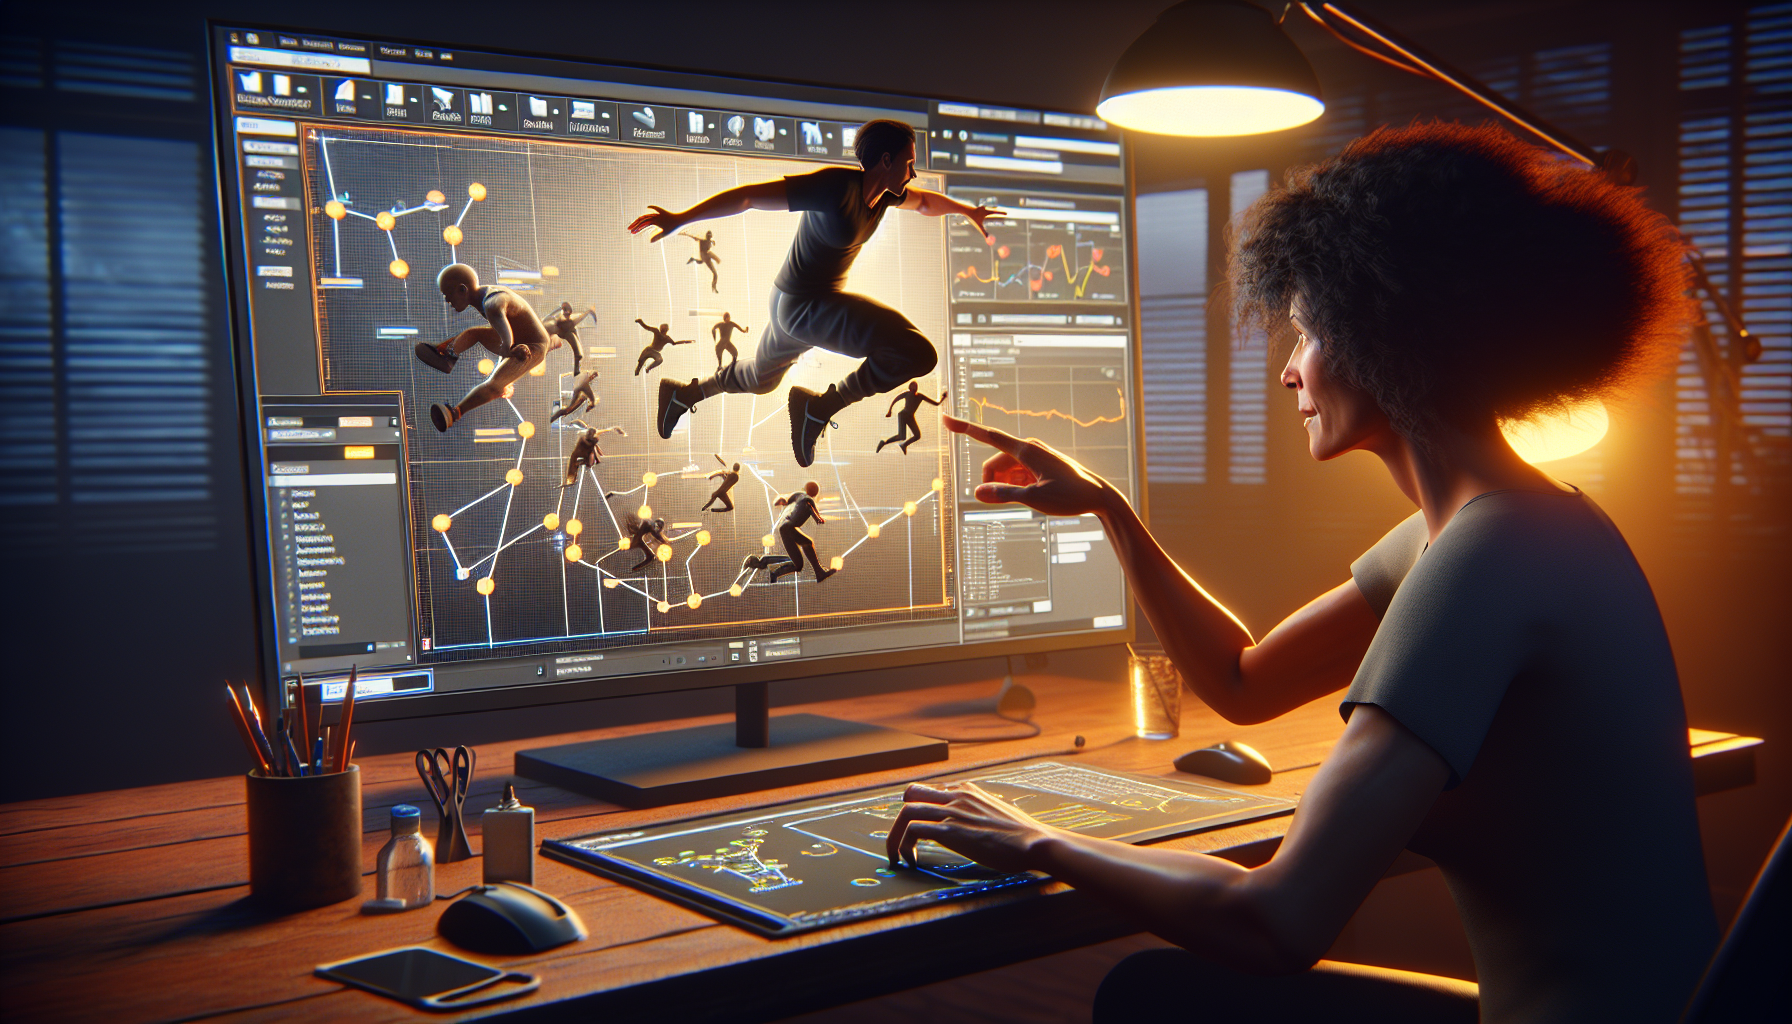
Animation Blueprints are like the brain behind the brawn of your 3D characters. Think of them as sophisticated scripts or flowcharts that dictate how a character should react when poked, prodded, or generally annoyed. They combine the logic of state machines with the fluidity of animations, ensuring that your characters don’t just move, they move with purpose.
Why Should You Care?
- Real-Time Interaction: Because waiting for animations to render is about as thrilling as watching paint dry. Animation Blueprints let your characters respond to game events in real-time. Jump, duck, dance, or faceplant—your characters can do it all on the fly.
- Complex Behavior Made Simple: Manage complex animation sequences and transitions without losing your mind. Animation Blueprints handle the heavy lifting, letting you focus on the fun part: making your characters do ridiculous things.
- Reusable Logic: Once you’ve set up an Animation Blueprint, you can reuse and adapt it for any character that fits the mold. It’s like having a dance routine that every character in your game can learn, no matter how many left feet they have.
Setting Up Your First Animation Blueprint
- Create the Blueprint:
- Open your Unreal project and navigate to the Content Browser. Right-click, select ‘Animation’, and then choose ‘Animation Blueprint’. Select the skeleton that matches your character (because attaching a human animation to a spider could result in some horrifying dance moves).
- Dive into the Graph:
- Once created, open your Animation Blueprint and meet your new best friend: the AnimGraph. This is where you’ll create nodes and wire them together to build your character’s potential actions.
- Assemble Your State Machine:
- Within the AnimGraph, add a new State Machine. This will serve as the central hub where you define various states (like walking, jumping, and idle) and how to transition between them. Think of it as choreographing a dance routine, but hopefully less sweaty.
- Plug in Animations:
- For each state, specify an animation. These can be simple (a single looping animation) or complex (blending multiple animations based on conditions like speed or direction).
Tips for Becoming a Master Puppeteer
- Keep It Organized: Animation Blueprints can get as tangled as last year’s Christmas lights. Use comments and group nodes logically to keep everything understandable at a glance.
- Debug Like a Pro: Utilize Unreal’s powerful debugging tools to see exactly what your Animation Blueprint is doing at any moment. It’s like x-ray vision, but less creepy.
- Experiment: The best way to learn is by doing. Try out different configurations, break things, fix them, and discover new and unintended ways to make your characters move.
Embrace the Dance
Animation Blueprints are your ticket to creating dynamic, responsive characters that bring your game to life. They bridge the gap between rigid, canned animations and fluid, interactive gameplay. So go ahead, give your characters the gift of movement, and watch as they stumble, stride, and strut across your digital world with all the drama you can muster.
Remember, in the realm of Animation Blueprints, you’re only limited by your imagination (and possibly your caffeine intake). Happy animating!
